.
...Part One...
.
...Screamin Eagle Compensator...
.
...verify all #s with your supplier for your application...
.
.
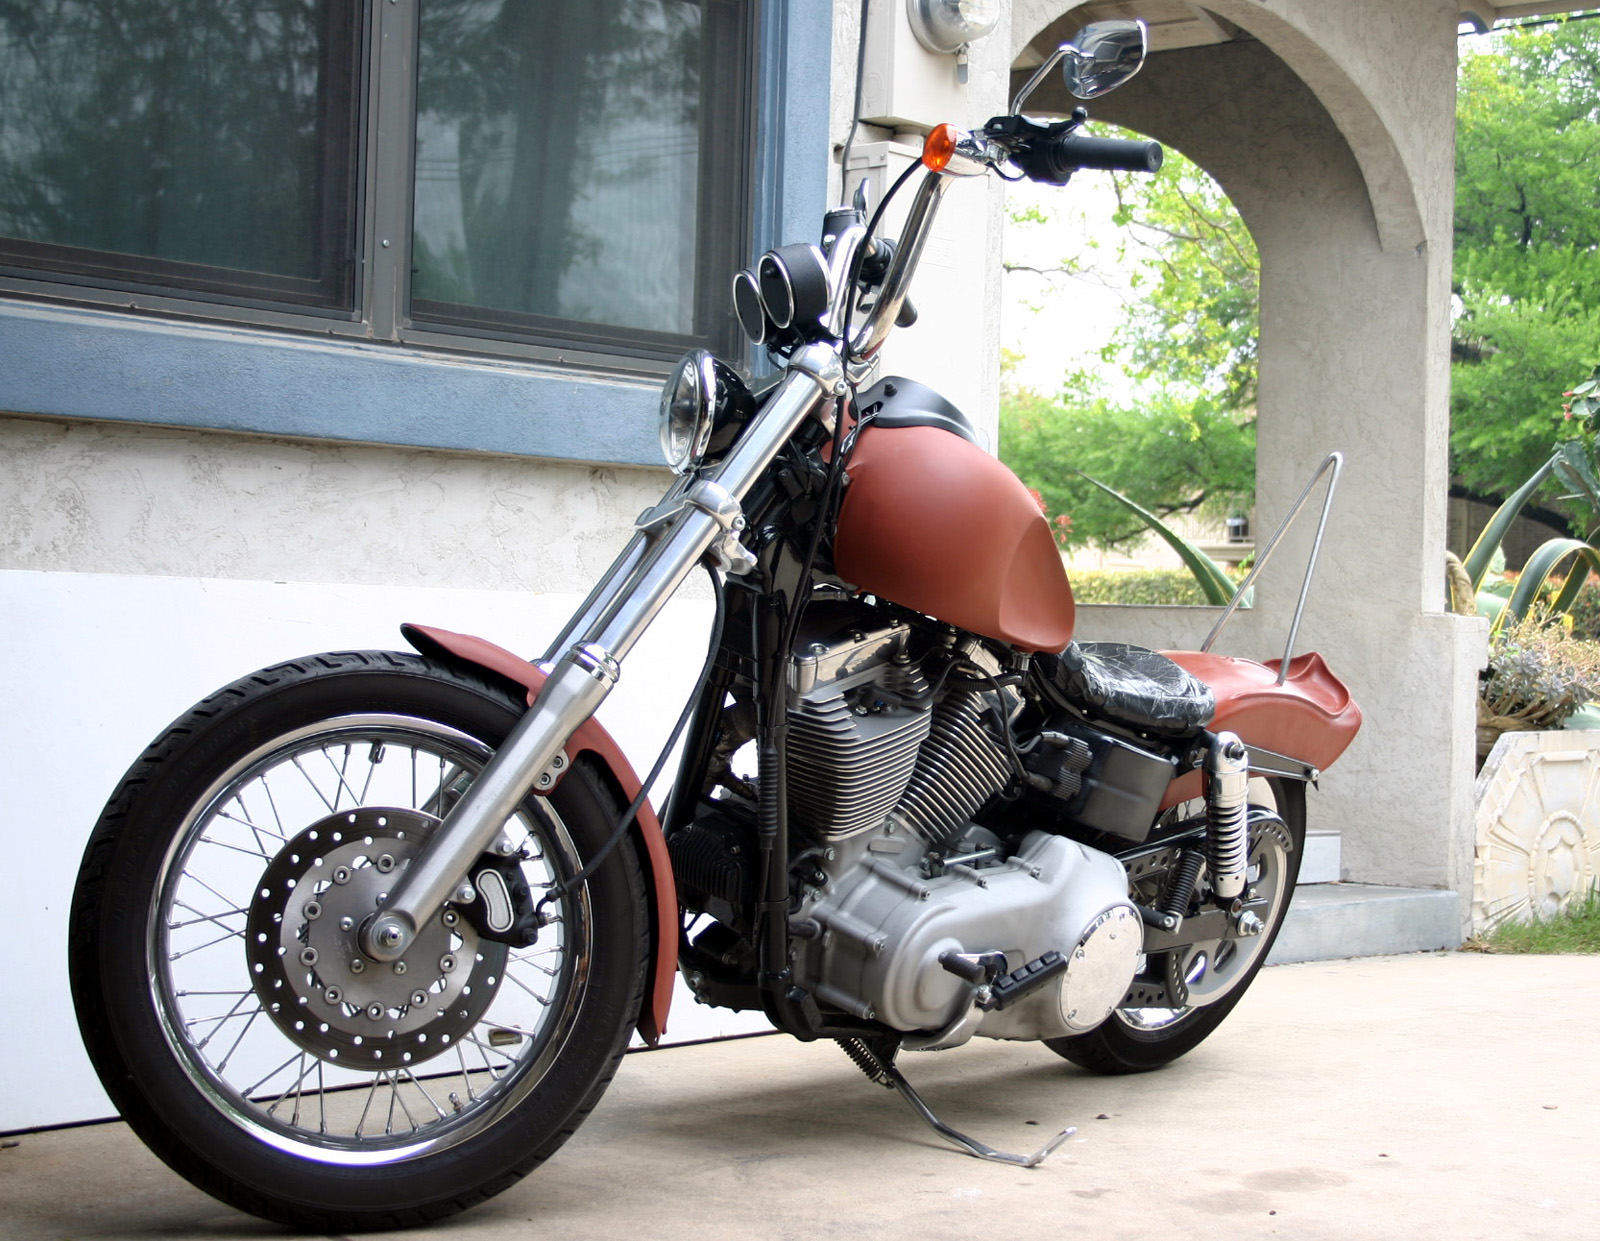
I've had a lot of folks ask me about this Compensator.
Took these photos a couple years ago when I poked and stroked my 88 incher to 121.
this is a really well built component................
.
.
2006 HD FXDI..............
.
here's my stator after the rotor bolts worked loose........
.
.
.
.
.
....CLICK any picture for a larger view....
.
below,
.......the tensioner on top is part # 39929-06A
.......original equipment also shown 39929-06
.
.
.
.
above, and the two pix below,
you see the -06A component is considerably beefed up.
.
.
.
.
.
.
On some machines, the rotor will come out with the inner primary cover in place.
I used a high speed grinder with a thin 2" wheel,
and removed about 1/16" from the lip of the inner primary cover
from about 6 oclock to 9 oclock
There are some blue marks in some of the pix farther down.
.
.
.
....CLICK any picture for a larger view....
.
below, looking at the original rotor,
you see the bolts are gone,
and the lightweight compensator spring is also shown.
.
.
.
.
below is the original compensating sprocket and sliding cam assembly
.
.
.
.
next picture below shows the Screaming Eagle compensating sprocket and sliding cam assembly.
Part # for the Screaming Eagle Compensator Assembly is 40274-08
.
.
.
.
frontside of the the Screaming Eagle compensating sprocket and sliding cam assembly is below.
.
.
.
.
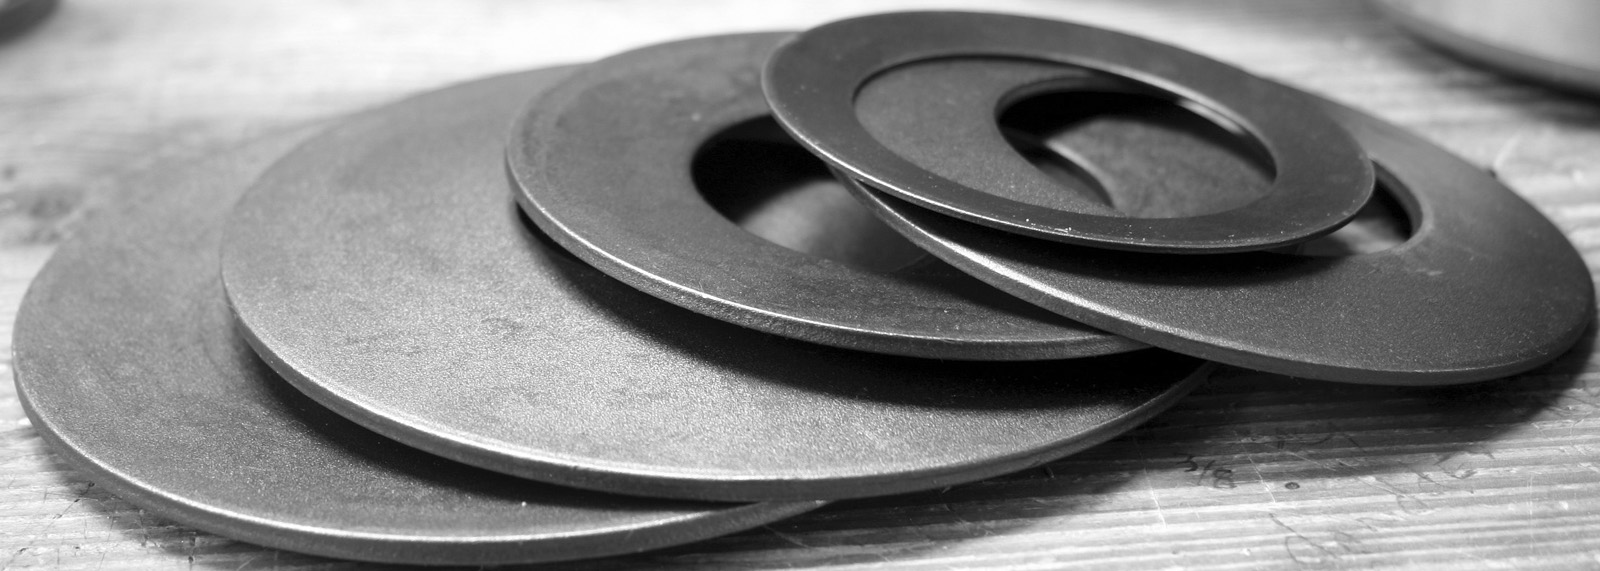
below,
these five cupped discs is the Spring Pack in the the Screaming Eagle kit.
.
.
.
.
below, the new stator part #30017-07
use new bolts part #3050
T27 is the wrench size and they torque to 55-75 INCH pounds
blue marks show where material needs trimming for removal/install of rotor.
material is removed from the inside edge. Not from the gasket surface.
.
.
.
.
...verify all #s with your supplier for your application...
.
.
...end of Part One...
.
.
.

 .
. .
.


 .
.  .
. .
. .
. .
. .
. .
.